
搜索到
332
篇与
的结果
-

-
-
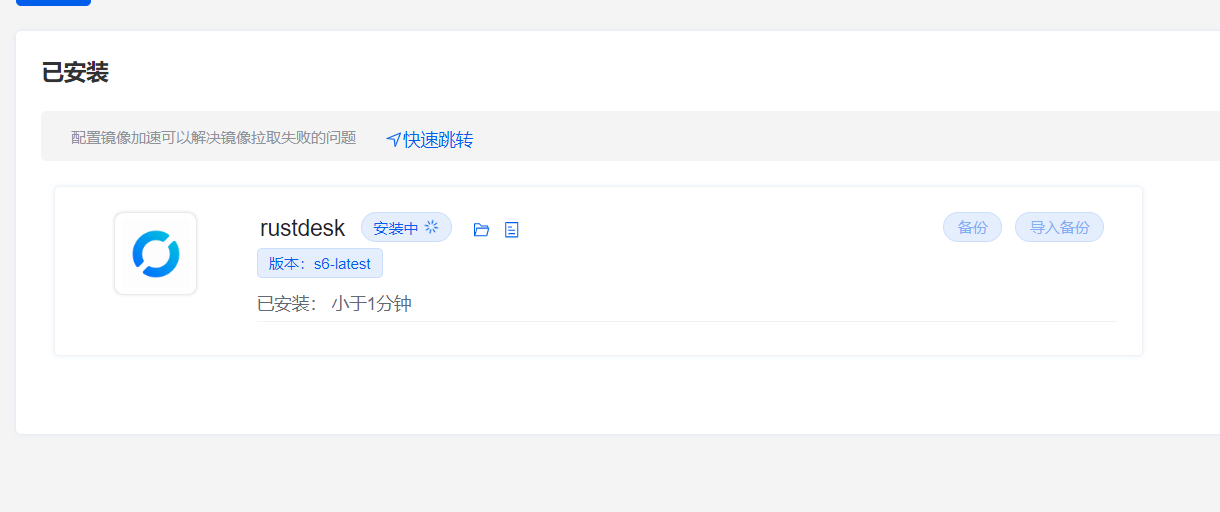
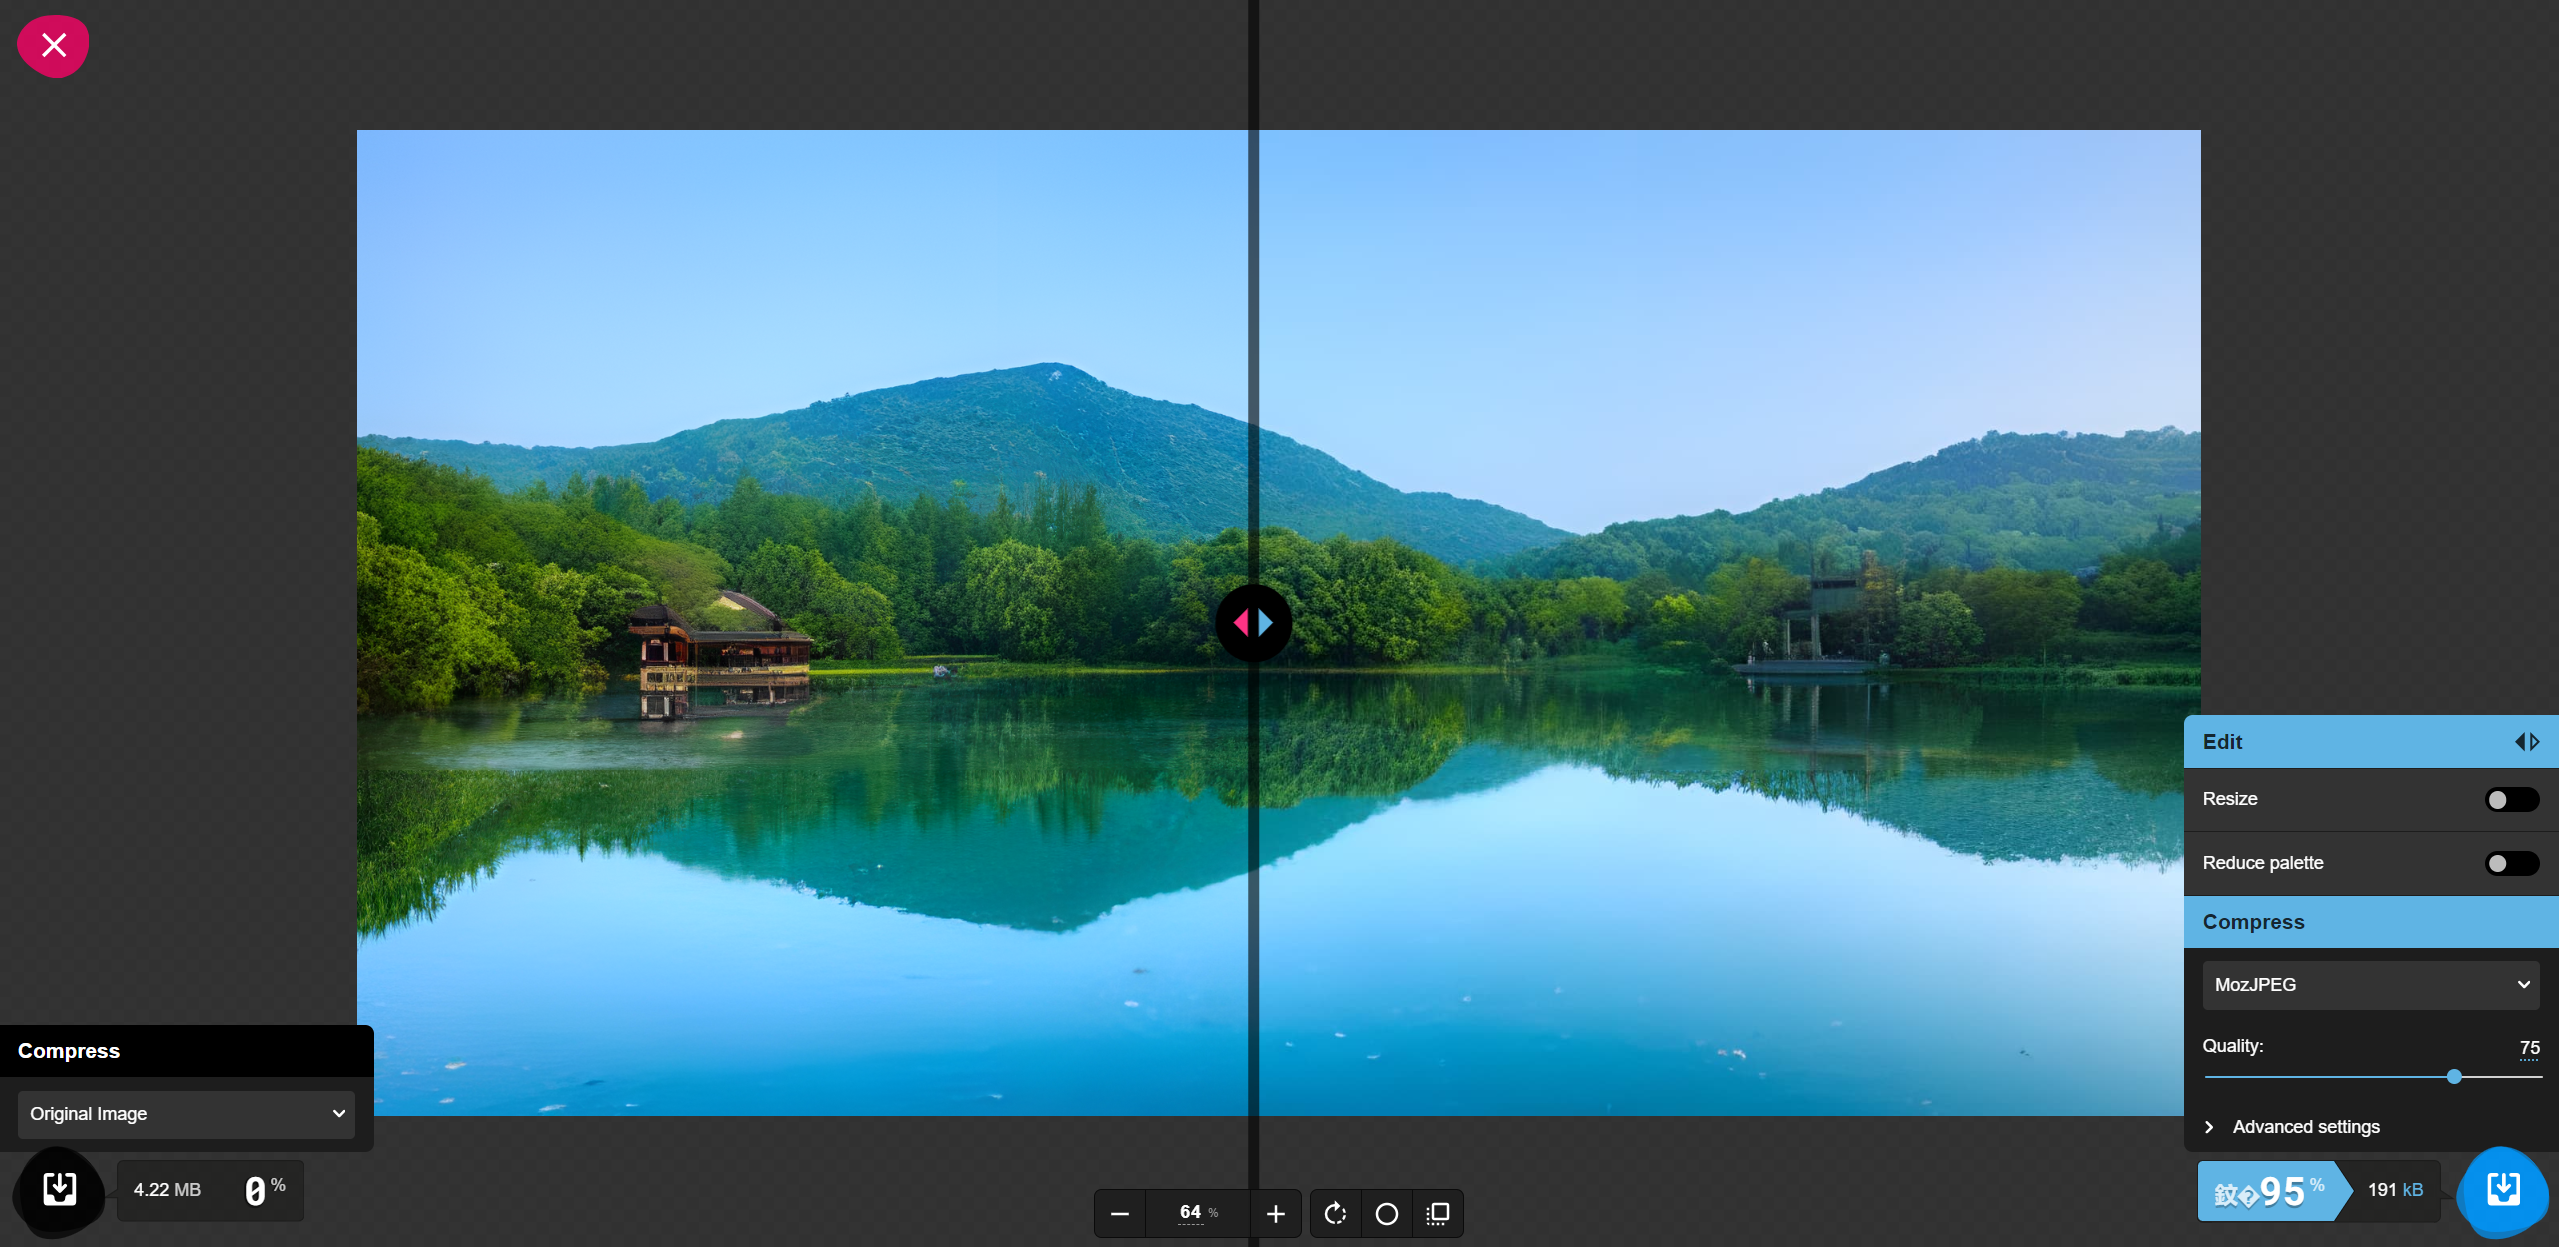
1Panel docker容器版-1分钟部署图片放大、无损压缩在线平台 MAX Image Resolution Enhancer & Squoosh 一、介绍Squoosh体积压缩95%,图片质量几乎不变,由谷歌开发MAX Image Resolution Enhancer,使用神经网络将图片放大4倍,由IBM公司开发二、一键部署Squooshdocker run -d --name squoosh -p 8000:80 hausen1012/squoosh:latest MAX Image Resolution Enhancerdocker run -d --name maximage -p 5000:5000 codait/max-image-resolution-enhancer 三、使用登录对应端口即可使用http://x.x.x.x:xxxx/四、小结哈哈哈
-
-
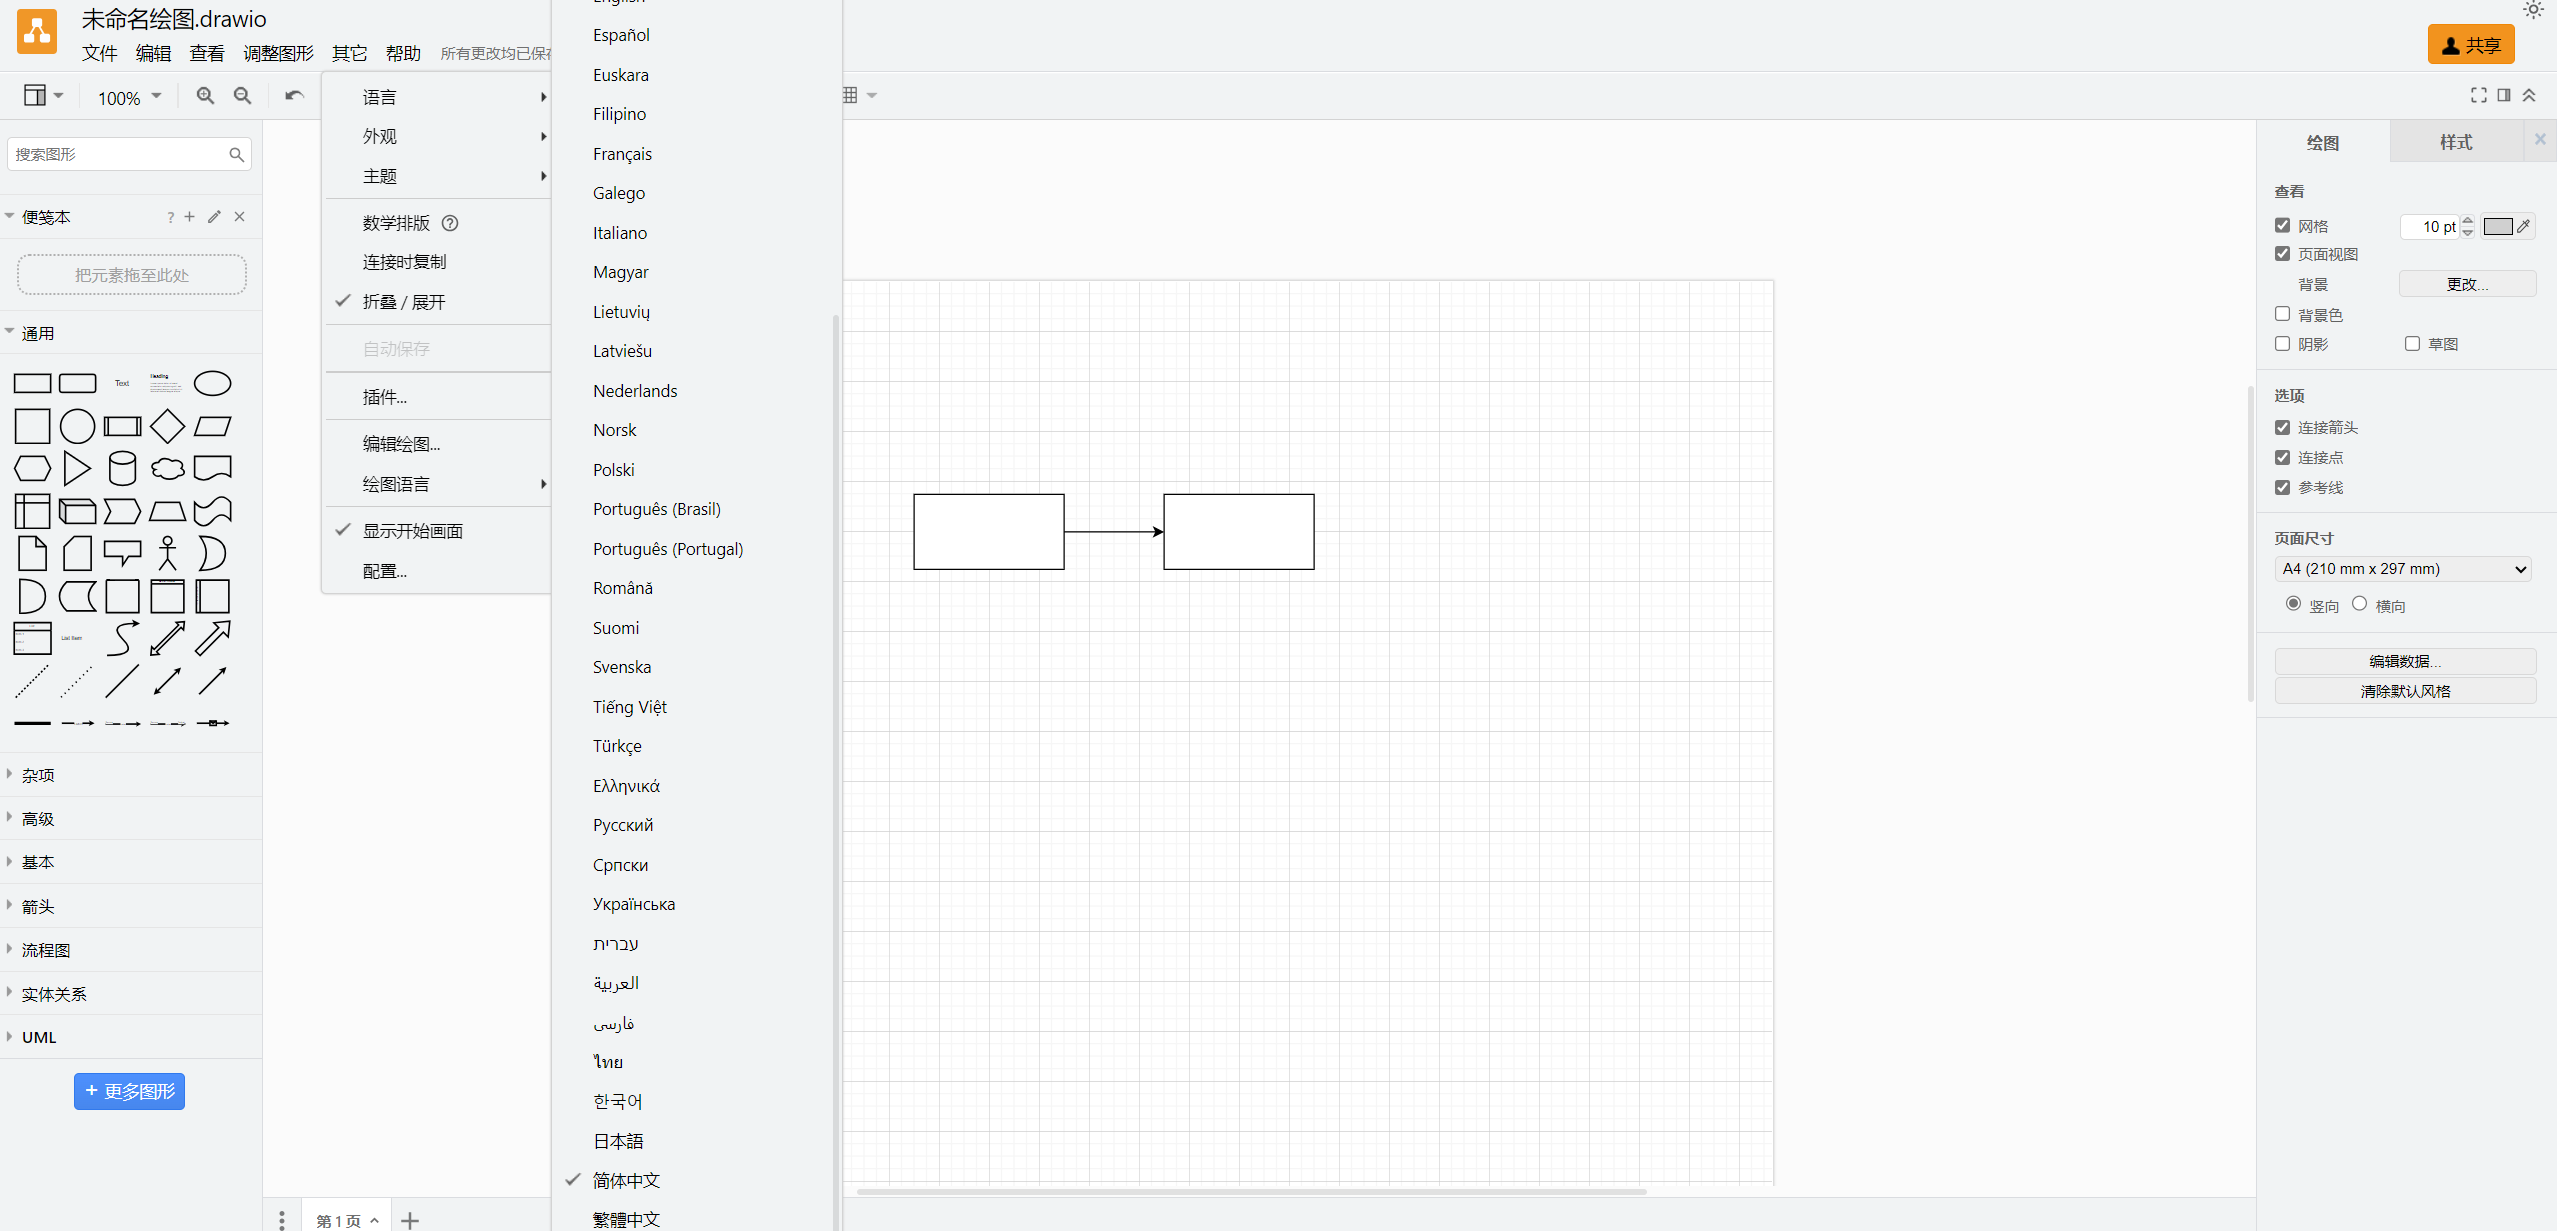
1Panel docker容器版-1分钟部署WEB在线流程图软件Draw.io 一、介绍Draw.io是一款免费、开源、高质量的WEB在线流程图软件,无需注册登录,支持多种图表类型和元素,可在线编辑和导出。二、部署1、一键部署docker run -dit --name=drawio -p 8080:8080 \ -v drawiojs:/usr/local/tomcat/webapps/draw/js/ \ --restart=always jgraph/drawio2、1Panel面板部署应用商店安装三、使用通过网页http协议访问,使用中文打开 /?lang=zhhttp://x.x.x.x:8080/?lang=zh支持中文四、小结好好好
-
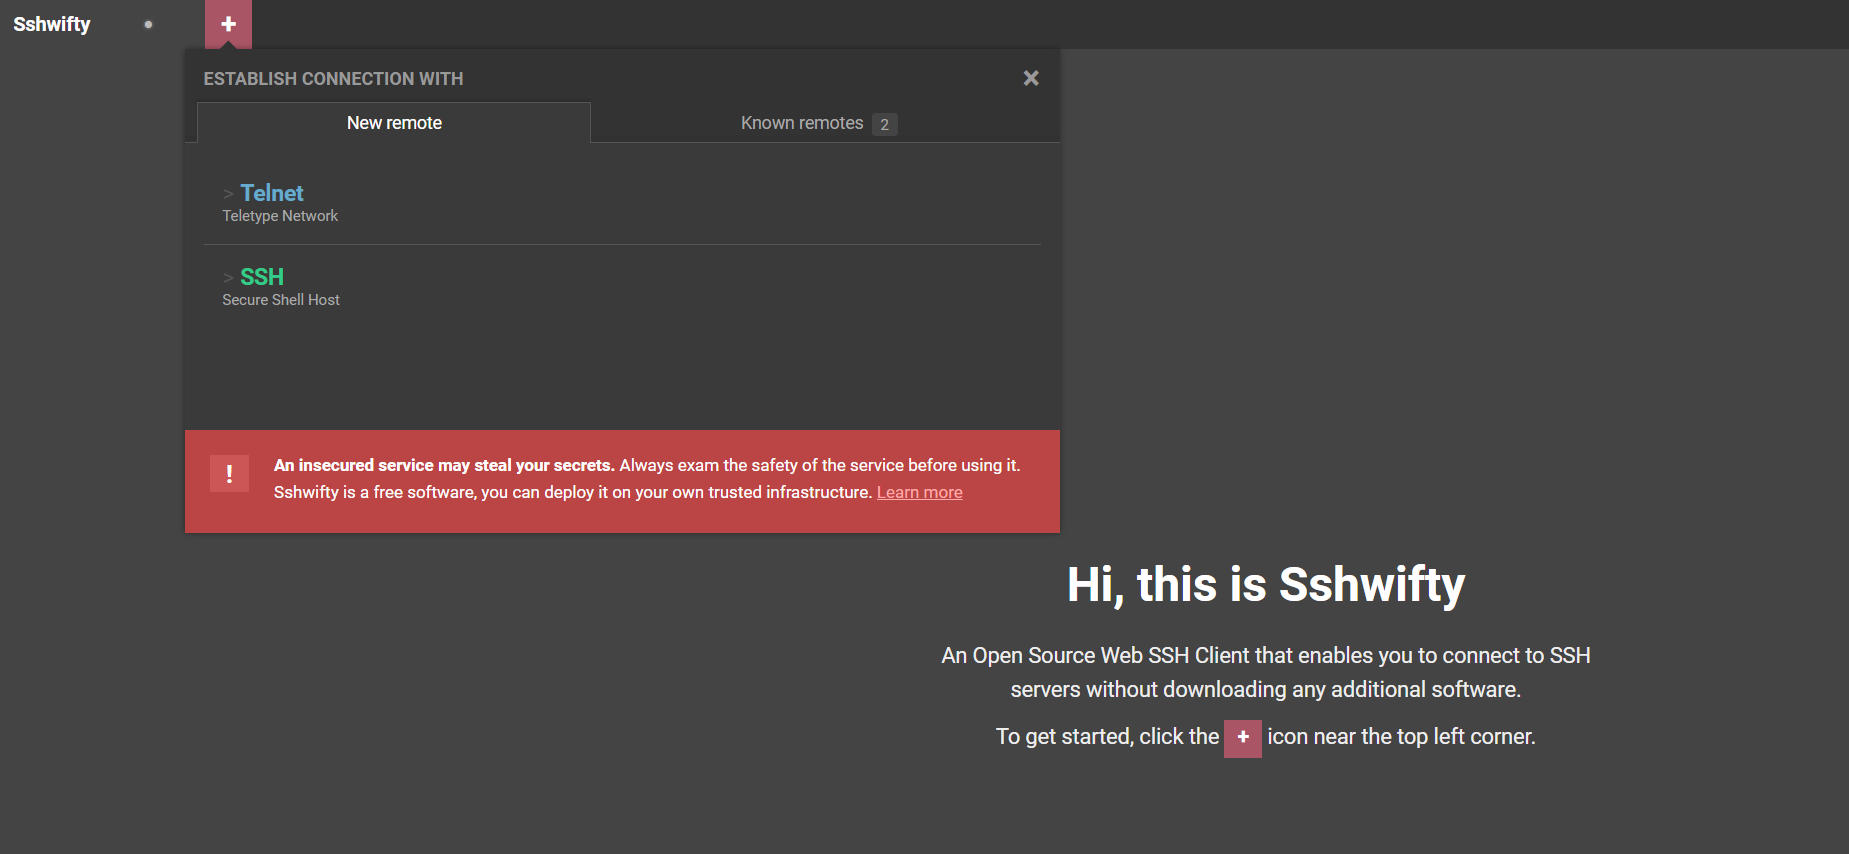
1Panel docker容器版-1分钟部署 WEB在线网页版Telnet SSH工具sshwifty 一、介绍 sshwifty是一款Web SSH & Telnet(WebSSH & WebTelnet 客户端工具。可以在客户机没有SSH&Telnet客户端的情况下方便的进行远程。二、部署 命令一键部署1、生成证书全程回车即可在当前目录生成证书openssl req -newkey rsa:4096 -nodes -keyout domain.key -x509 -days 90 -out domain.crt2、一键运行在当前目录运行docker run --detach \ --restart always \ --publish 8182:8182 \ --env SSHWIFTY_DOCKER_TLSCERT="$(cat domain.crt)" \ --env SSHWIFTY_DOCKER_TLSCERTKEY="$(cat domain.key)" \ --name sshwifty \ niruix/sshwifty:latest3、查看状态三、使用 通过映射的8182端口,https协议访问如https://x.x.x.x:8182/选择ssh或telnet访问即可四、小结 好好好
-
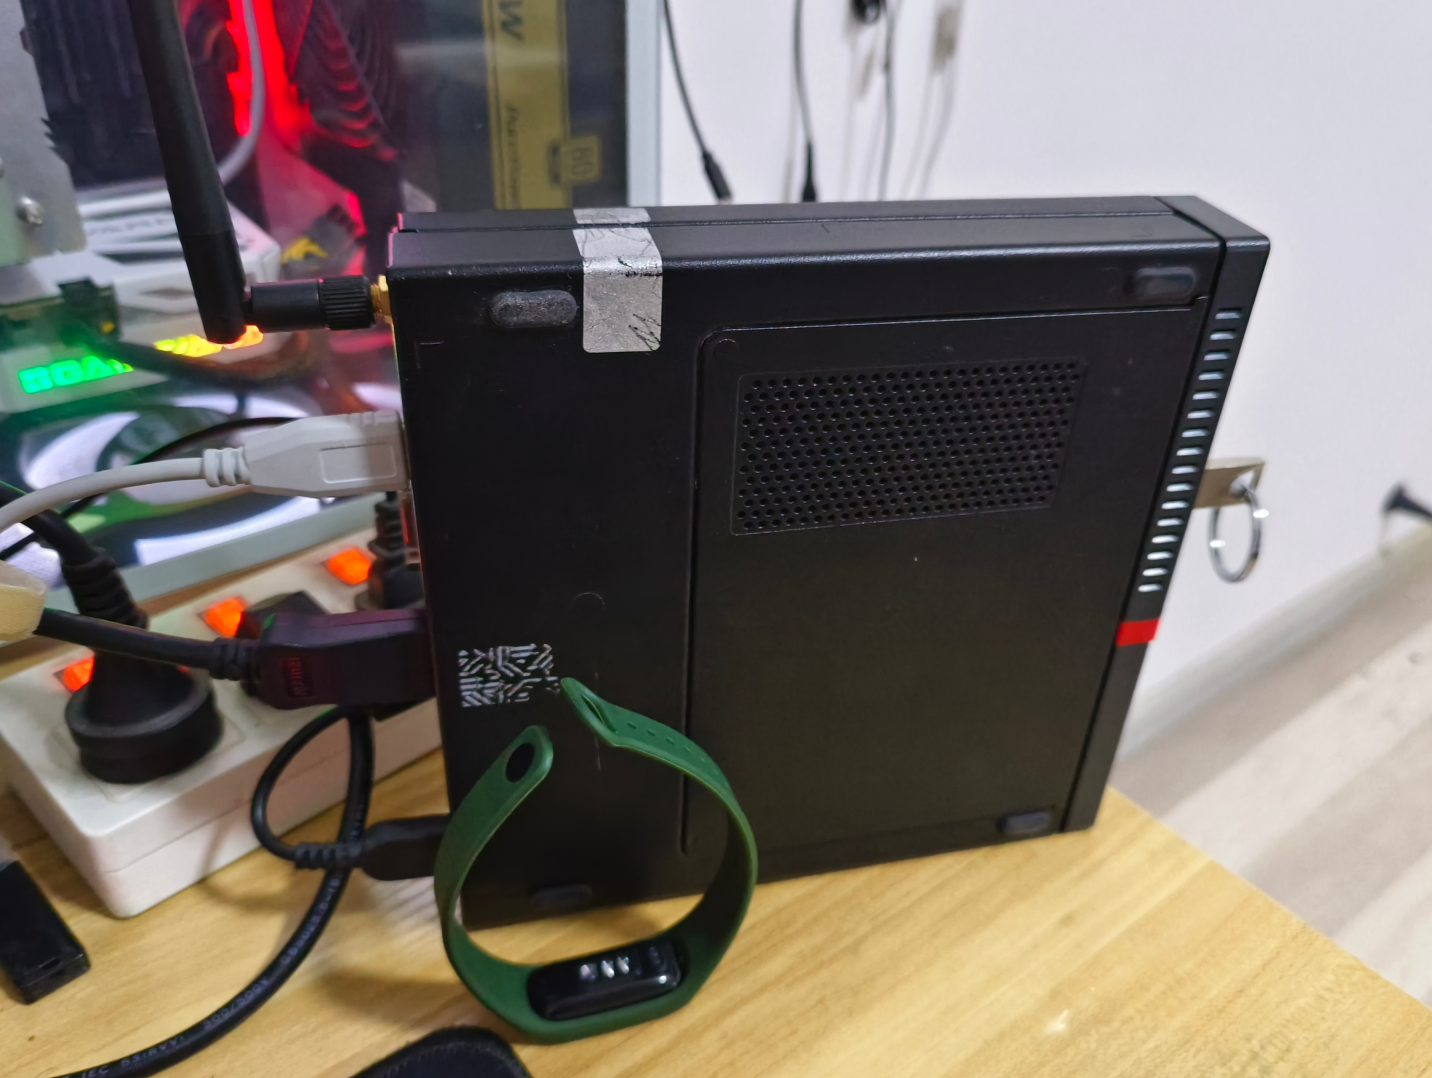
搭建家庭服务器1-ESXi7安装、ALMA9安装、1Panel面板安装 一、安装ESXi7我使用的是联想M710Q I3-6100T 8G 240Gssd的小主机使用Ventoy U盘启动ESXi7的安装镜像修改虚拟内存大小,ESXi7默认使用120G硬盘做虚拟内存,我们改小点,我改成2G引导倒计时按Shift+O出现 cdromBoot runweasel输入autoPartitionOSDataSize=5120代表5G安装系统安装完成将F12将服务器关机,插到家里的路由器上,通过IP连接即可登陆成功二、ALMA9安装下载最小化安装镜像上传到ESXi7中新建系统并安装通过ssh远程登陆更新系统,安装open-vm-tools三、安装1Panel面板安装docker,看我站内文章安装1Panel安装一个uptime完成本期教程先到这里
-
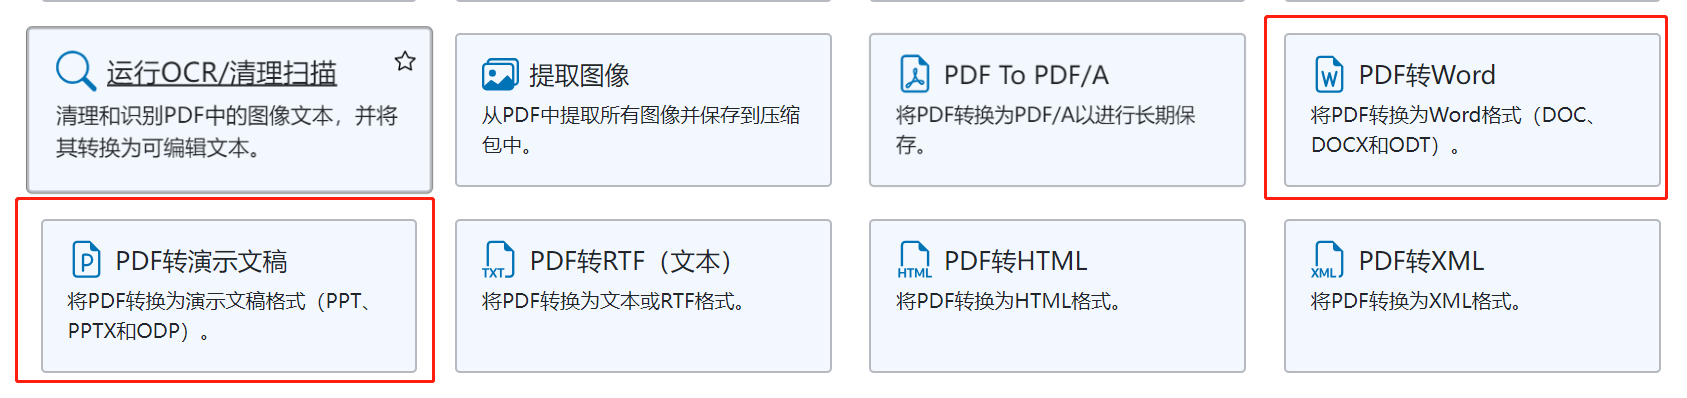
1Panel docker容器版-1分钟部署Stirling-PDF内网在线多功能PDF工具箱 一、介绍 这是一个强大的本地托管的基于 Web 的 PDF 操作工具,使用 docker,允许您对 PDF 文件执行各种操作,例如拆分、合并、转换、重组、添加图像、旋转、压缩等。这个本地托管的 Web 应用程序最初是 100% ChatGPT 制作的应用程序,现已发展到包含广泛的功能来满足您的所有 PDF 需求。Stirling PDF 不会为任何记录保存或跟踪进行呼出。所有文件和 PDF 要么仅存在于客户端,要么仅在任务执行期间驻留在服务器内存中,要么临时驻留在仅用于执行任务的文件中。届时,用户下载的任何文件都将从服务器中删除。二、部署 1、命令一键部署 docker run -d \ -p 8080:8080 \ -v /location/of/trainingData:/usr/share/tesseract-ocr/5/tessdata \ -v /location/of/extraConfigs:/configs \ -v /location/of/logs:/logs \ -e DOCKER_ENABLE_SECURITY=false \ --name stirling-pdf \ frooodle/s-pdf:latest2、1Panel面板部署暴露端口8080挂载卷pdfextraConfigs /configspdflogs /logspdftrainingData /usr/share/tesseract-ocr/5/tessdataCommand'java' '-Dfile.encoding=UTF-8' '-jar' '/app.jar'Entrypoint'/scripts/init.sh'重启规则 一直重启环境变量DOCKER_ENABLE_SECURITY=false PATH=/usr/local/sbin:/usr/local/bin:/usr/sbin:/usr/bin:/sbin:/bin HOME=/home/stirlingpdfuser VERSION_TAG=0.20.1 JAVA_TOOL_OPTIONS= -XX:MaxRAMPercentage=75三、使用 访问容器映射的端口即可右上角选择语言,或着连接中增加语言,如:http://x.x.x.x:8080/?lang=zh_CN四、小结 狠狠的赋能!
-
更改MacBook Pro中Win10的触摸板双指滑动的方向(改为自然滚动) https://blog.csdn.net/booksyhay/article/details/80712601最后,找到一个更改注册表的方法:1,打开“控制面板-硬件和声音-鼠标”,点击“硬件”标签页,找到触摸板对应的那个硬件,再点击“属性”:2,在该HID设置的属性中,点击“详细信息”,再在“属性”下拉列表中找到“设置实例路径”,记住“值”中的VID序号。3,打开注册表编辑器,找到:HKEY_LOCAL_MACHINE\SYSTEM\CurrentControlSet\Enum\HID\VID_???\VID_???\Device Parameters下面的“FlipFlopWheel子键,将其值由0改为1.其中VID_???即是上一步记录的设备序号。4,保存,重启。现在舒服了。————————————————版权声明:本文为CSDN博主「booksyhay」的原创文章,遵循CC 4.0 BY-SA版权协议,转载请附上原文出处链接及本声明。原文链接:https://blog.csdn.net/booksyhay/article/details/80712601
-
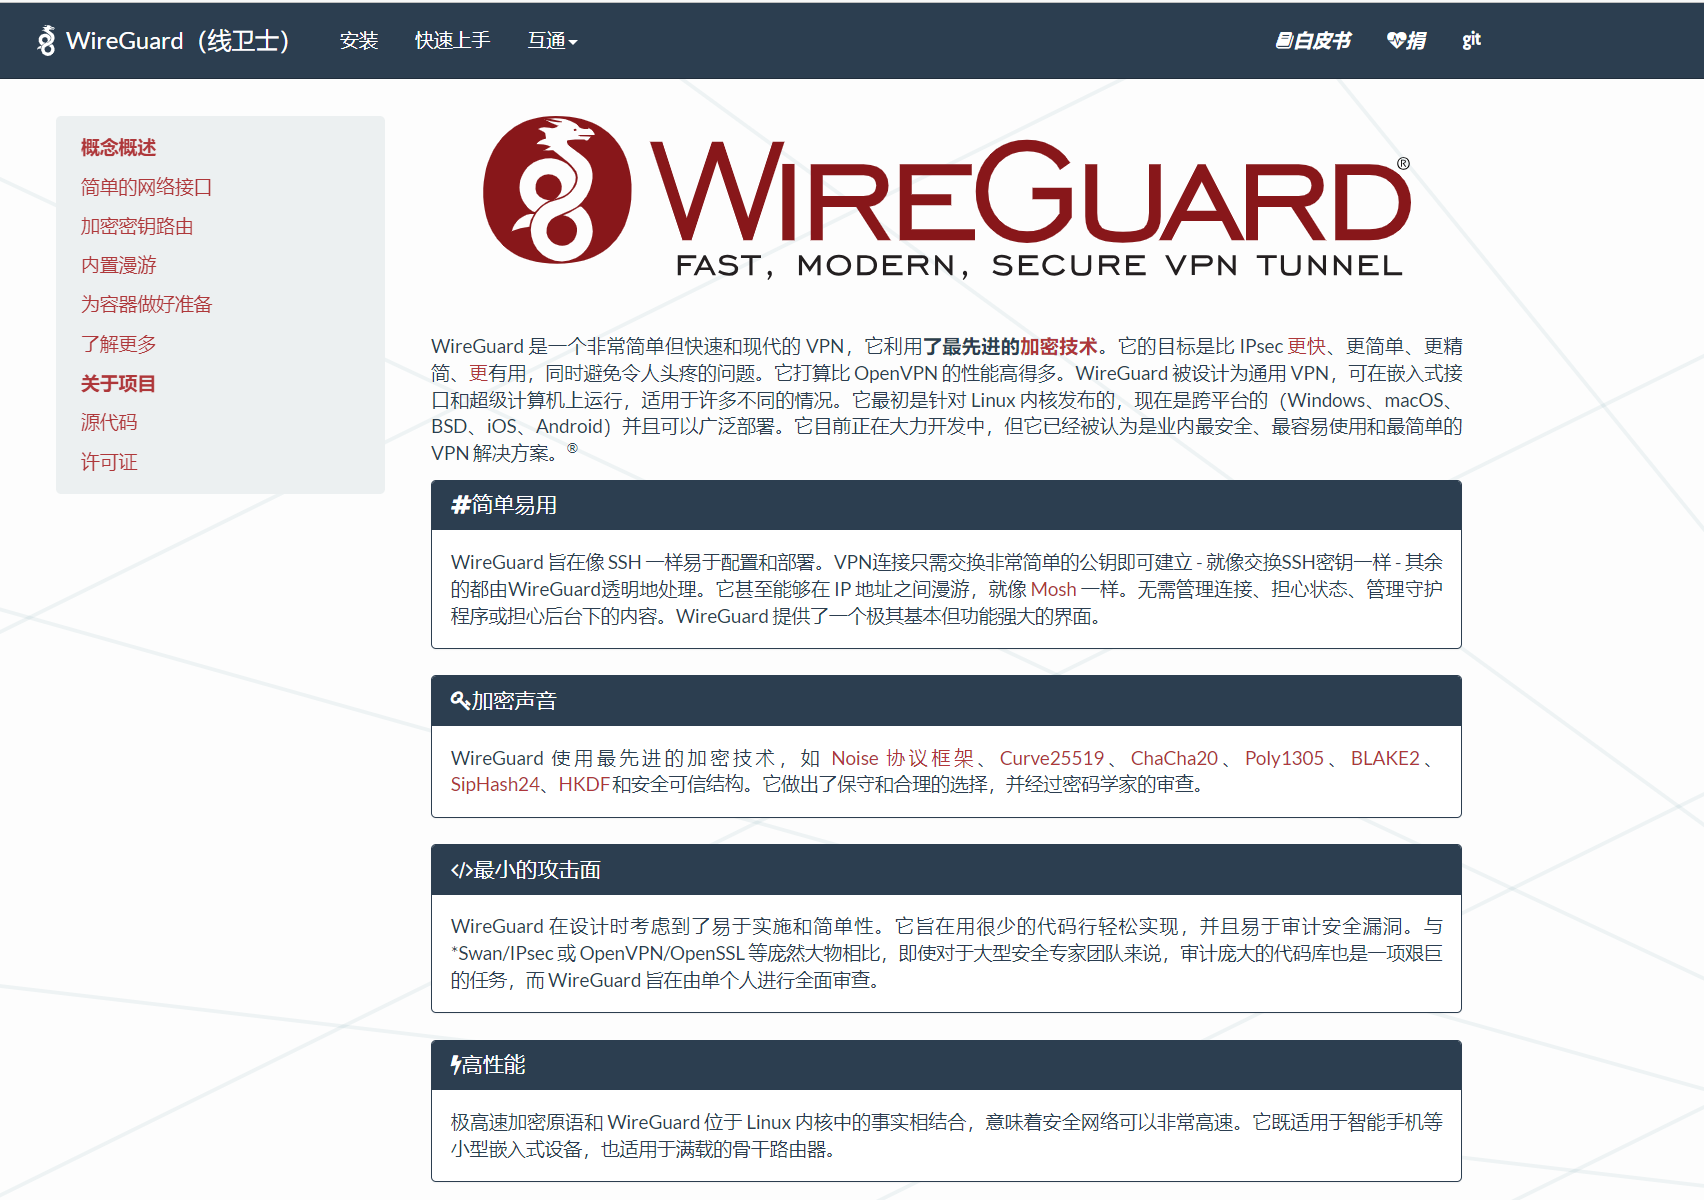
1Panel docker容器版-1分钟部署wg-easy面板、wireguard可视化管理 一、介绍 1、两个客户端建立加密通道通过wireguard服务器对两个隔离的客户端建立加密通道2、建立VPN通道客户端连接服务端后,通过服务器连接外网3、其他用法二、部署 1、启动依赖的网络模块modprobe ip_tables && modprobe iptable-nat需要开机启动,需要将命令写入rc.local2、命令行启动容器docker run -d \ --name=wg-easy \ -e WG_HOST=YOUR_SERVER_IP \ -e PASSWORD=YOUR_ADMIN_PASSWOR \ -e WG_DEFAULT_ADDRESS=10.0.0.x \ -e WG_DEFAULT_DNS=114.114.114.114 \ -e WG_PERSISTENT_KEEPALIVE=30 \ -e WG_ALLOWED_IPS=10.0.0.0/24 \ -v ~/.wg-easy:/etc/wireguard \ -p 51820:51820/udp \ -p 51821:51821/tcp \ --cap-add=NET_ADMIN \ --cap-add=SYS_MODULE \ --sysctl="net.ipv4.conf.all.src_valid_mark=1" \ --sysctl="net.ipv4.ip_forward=1" \ --restart=always \ weejewel/wg-easy注释:name=容器名字WG_HOST=服务器IP,一般填写外网IPPASSWORD=wg-easy面板密码WG_DEFAULT_ADDRESS=10.0.0.x 客户端获取IP10.0.0.1-254WG_ALLOWED_IPS=10.0.0.0/24 通过WG访问的网段,如果要全部流量转发WG设置0.0.0.0/0,特定网段逗号间隔 192.168.0.0/24,192.168.1.0/24-v ~/.wg-easy:/etc/wireguard 持久化51820:51820/udp WG工作端口51821:51821/tcp wg-easy面板端口3、使用1Panel面板配置WG映射端口,挂载卷Command'/usr/bin/dumb-init' 'node' 'server.js'Entrypoint'docker-entrypoint.sh'环境变量WG_HOST=172.16.0.2 PASSWORD=passwd@123 WG_DEFAULT_ADDRESS=192.168.123.x WG_DEFAULT_DNS=114.114.114.114 WG_PERSISTENT_KEEPALIVE=30 WG_ALLOWED_IPS=192.168.1.0/24,192.168.2.0/24 PATH=/usr/local/sbin:/usr/local/bin:/usr/sbin:/usr/bin:/sbin:/bin NODE_VERSION=14.18.1 YARN_VERSION=1.22.15 DEBUG=Server,WireGuard启动容器三、使用 1、登陆面板2、创建配置3、客户端导入配置4、连接后,查看IP为服务器IP四、小结 好好好
-
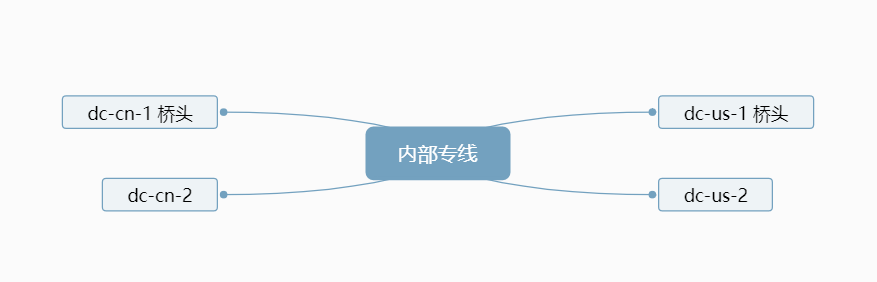
windows单域多站点部署、桥头服务器、DNS就近解析 一、系统架构 二、实验目的 总部在cn,在us成立分公司,部署内部专线,域数据实时同步浪费带宽,改为每15分钟同步一次,cn和us内部人员就近解析DNS。三、实验参数 windows2022系统域 90apt.comcn 172.16.13.0/24dc-cn-1 172.16.13.11 cn域控1 桥头服务器dc-cn-2 172.16.13.12 cn域控2cn-kehu DHCP获取IP cn客户机 自动获取IPus 172.16.14.0/24dc-us-1 172.16.14.11 us域控1 桥头服务器dc-us-2 172.16.14.12 us域控2us-kehu DHCP获取IP us客户机 自动获取IP四、部署过程 1、四台域控安装配置,加域90apt.com全部加域后,所有域控主机均在同一默认站点,互相复制2、创建两个新站点CN和US,将域控分别移动到对应的站点中3、新建子网,将对应子网分配给对应站点4、设置桥头服务器dc-cn-1和dc-us-15、设置跨站点复制时间默认180分钟6、调整复制对象如dc-cn-2为内部服务器,仅与dc-cn-1复制7、查看同步状态repadmin /replsummary五、验证 1、DNS解析顺序cn-kehu查看90apt的解析IPus-kehu查看90apt的解析IP2、AD复制验证1 同站点快速复制cn域控新建一个 "哈哈" 用户,新建用户或改密码等操作会快速复制,cn另一台域控查看用户同时建立2 跨站点定时复制立即在us域控查看,无此用户20分钟后再次刷新查看,"哈哈" 用户出现3 手动复制若要尽快进行跨站点同步,可以手动选择立即复制,注意,域控复制需要时间,数据越多越慢六、小结 好好好
-