本文使用windows安装,但实际配置与linux相同。
一、软件安装
下载MongoDB,当前版本为6.0.4,默认安装带MongoDB Compass
https://www.mongodb.com/try/download/community
默认安装目录为C:\Program Files\MongoDB\Server\6.0
MongoDB Shell需要手动下载,可放在MongoDB目录中使用
https://www.mongodb.com/try/download/shell
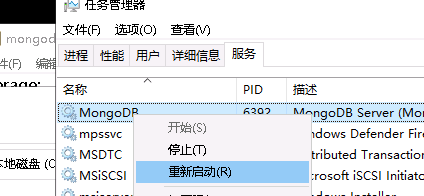
安装后程序自动注册为服务,自动运行,程序开启、停止、重启均通过服务控制
二、配置文件mongod.cfg配置文件位于C:\Program Files\MongoDB\Server\6.0\bin\,建议使用默认配置文件配置完成后再修改配置文件。
三、配置数据库、用户、远程登陆
注意!必须使用MongoDB Shell配置
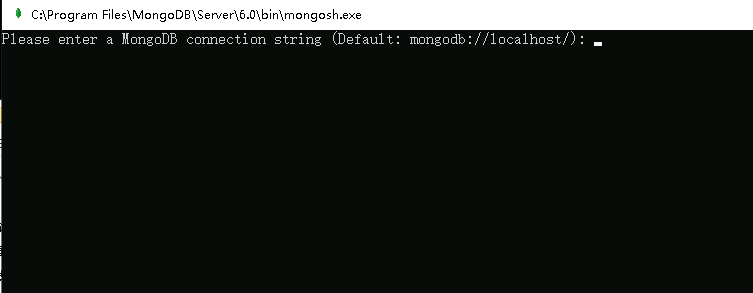
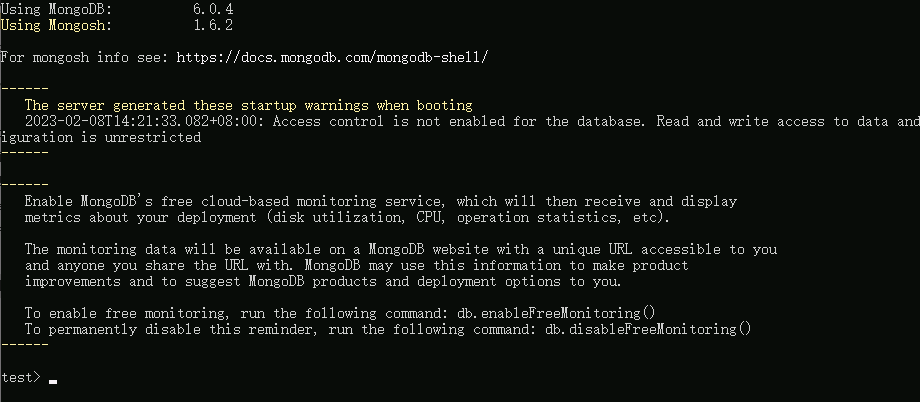
运行mongosh.exe登陆终端

查看当前数据库
test> show dbs
admin   168.00 KiB
config  108.00 KiB
local 80.00 KiB创建管理员用户,进入admin管理员库
control> use admin
switched to db admin
admin> db.createUser({ user: "superadmin", pwd: "superadmin", roles: [{ role: "userAdminAnyDatabase", db: "admin" }] })
{ ok: 1 }
验证用户名密码,退出系统
admin> db.auth('superadmin','superadmin')
{ ok: 1 }
admin>exit修改mongod.cfg配置文件,开启验证
security:
    authorization: enabled  /开启认证
重启服务
再次使用mongosh.exe登陆数据库,运行任意命令提示权限不足
test> show dbs
MongoServerError: command listDatabases requires authentication
使用管理员用户登录
test> use admin
switched to db admin
admin> db.auth('superadmin','superadmin')
{ ok: 1 }创建control数据库和数据库拥有者
admin> use control
switched to db control
control> db.createUser({ user: "admin", pwd: "adminpasswd", roles: [{ role: "dbOwner", db: "control" }] })
{ ok: 1 }
创建只读账号
control> db.createUser({ user: "user", pwd: "user", roles: [{ role: "read", db: "control" }] })
{ ok: 1 }修改mongod.cfg配置允许外网访问并重启服务器
net:
  port: 60000       /端口配置
bindIp: 0.0.0.0 /监听所有地址使用MongoDB Compass客户端登录测试
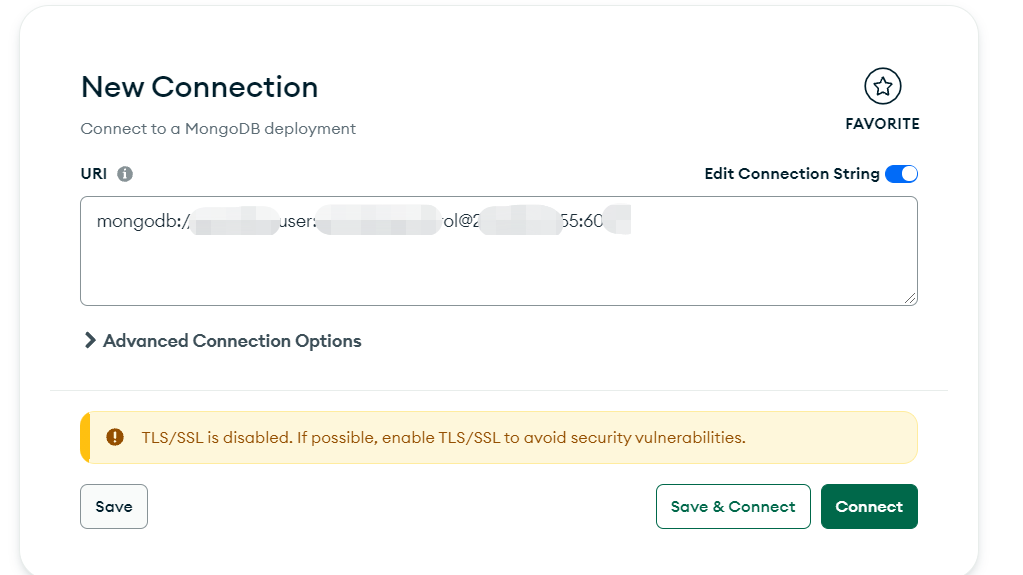
格式为
mongodb://用户名:密码@IP:端口/数据库名
登陆无问题,且不同人员登陆后权限不同
四、扩展阅读
role里的角色可以选:
Built-In Roles(内置角色): 1. 数据库用户角色:read、readWrite; 2. 数据库管理角色:dbAdmin、dbOwner、userAdmin; 3. 集群管理角色:clusterAdmin、clusterManager、clusterMonitor、hostManager; 4. 备份恢复角色:backup、restore; 5. 所有数据库角色:readAnyDatabase、readWriteAnyDatabase,userAdminAnyDatabase、dbAdminAnyDatabase 6. 超级用户角色:root 7. 内部角色:__system
修改密码
use admin
db.changeUserPassword("username", "xxx")

删除用户
use admin
db.dropUser('user001')
mongodb用户权限管理最全攻略:用户的创建、查看、删除与修改,mongodb入坑之旅
https://blog.csdn.net/zhanghongshuang/article/details/117461225


评论